


Quick Start Guide
First Steps
- Login
The first thing a site administrator does to manage the website is to login.
Click here for login instructions - Navigating the Site
To navigate the site after login as an administrator, use the toolbar at the top of every page. We recommend using a desktop computer or laptop with a mouse attached, at least at first. Roll the mouse cursor over the menu choices to see their submenus of functions. When the mouse rolls over a function listed on the menu, the function name will show a darker background. To select a function, roll the mouse cursor over the function listed and click the link there.
- Admin Menus
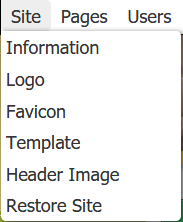
The Site Menu:
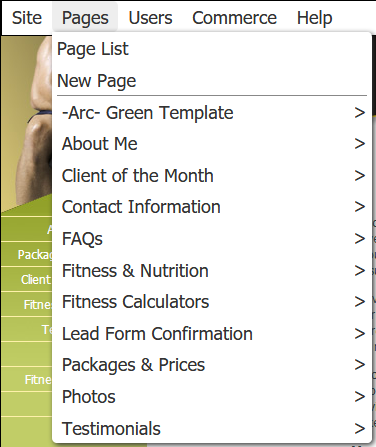
The Page Menu:
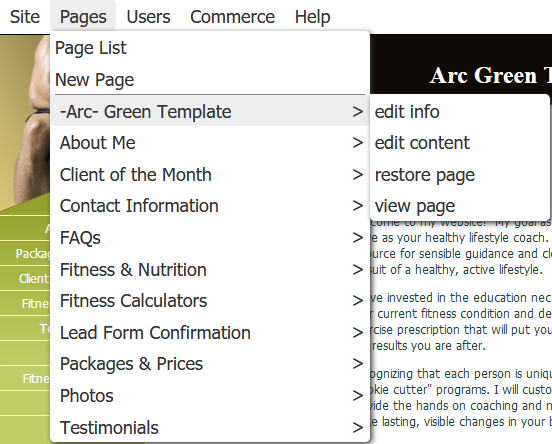
and the Page edit menu:
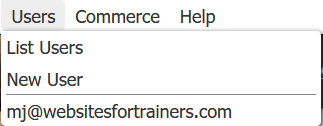
The Users Menu:
- The Website Menu
Note that the website itself has a menu to navigate the website. This menu is accessable without logging in as a administrator, and everyone who goes to your website has access to that menu and your website pages.
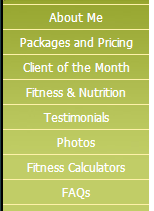
The website menu:
-
The Page Edit Pencil
On every page there is a pencil icon on the upper right of the page. You can edit the page by clicking the pencil. The pencil link takes you to the same place as the Page Menu 'edit contents' link, it is a different method of navigating to edit a page.
The pencil icon:

- Help Button
The help button on a page is used to popup a window with help comtents for that page.

- Editor Help ?
The '?' button (
 ) on the page edit toolbar when editing a page is used to popup a window with help comtents for the editor.
The editor toolbar and help button:

- Admin Menus
- Check the Site Info
Your site info should be filled in from signup, and you should verify this information on the Site Info page: click here
- Set Your Logo
Add your logo if you have one. I needs to be a good size, small enough but not too small. When the image is saved, it will be resized by the admin software. Go to the Site Logo page: click here
Second Steps
- About Me/Us Page
You should check the information on the About Me (or About Us) Page. You can edit the content of the About Me page by rolling the mouse cursor over the Page Menu, and then over the Page name, and clicking the 'edit content' Link.
You can also edit the About Me page by clicking the pencil icon on the About Me page.
- Information for all pages
Websites are created with basic information on each page. You should check and possibly edit the information on each page of your website.
To edit a page, you can use the Page admin menu in the admin toolbar at the top, or simply navigate to the page using the website menu and click on the pencil icon.
When editing a page, the editor toolbar will display:

To edit text on a page, simply click on the location you want to type and start typing. You can delete characters using your keyboard delete key. You can also select and change text using the mouse or the keyboard as described here:
Selecting TextWhen editing a page, to save your changes you MUST either click the save icon on the toolbar or press '
S' on the keyboard.
The save icon:

On the editor toolbar, you can cancel your changes by clicking the cancel icon. You can also simply navigate away from the page and the editor when you've finished editing, or wish to cancel changes. Note that you will get a popup message if you have made changes to the page and not saved them. If you then wish to save changes, click 'Stay' or 'Stay on Page' and then save the page by clicking the save icon as outlined above.
The cancel icon:

To get help on editing a page, click the editor toolbar help icon:
- Search Engine Optimization (SEO)
You will want people to find your site, so a bit of information is used for people searching for sites like yours. the page title is used by searches as the most important description of your page, so you should fill in the page title on each page.
The Meta Description of your page is also important to searching. You should give a plain language description of your page up to 160 characters.
You can edit the information about a page by rolling the mouse cursor over the Page Menu, and then over the Page name, and clicking the 'edit information' Link. Alternatly, you can click the page name under the Page admin menu.
Third Steps
- Favicon Add a favicon if you have one, it's the very small icon in front of you websites address at the top of the browser, it is used variously by browsers for saving and identifying sites and links. The favicon image should be square, and will be resized to 16 pixels square on upload. You can upload yours here:
Upload favicon - Template
You chose a template when you signed up, and you can change your template, which is the 'look and feel' of your website, and the stock images on it. When you change the template, your page contents will stay the same, only the frame of the site changes. You can change your site template here:
Change Template - Header Image
You can also add an image to use for your header image. When the image is uploaded, it is resized to fit your website. You can upload a image for your site header here:
Upload Header Image
Quick Reference
- Important Functions
- Edit Level
Edit Level is used to set a user's available commands on both the Administration toolbar and the Editor toolbar. Default Edit Level is 'simple'.
To change your Edit Level and have access to more functions on both the Admin and Editor toolbars, click your Display Name (your logged in display name) link to the edit user page on the administrator toolbar right side next to 'logout', or by clicking the desired user name under the admin toolbar User menu.
- Restore Site
You can always restore your site to the way it was before you edited it using the 'restore' function. You can restore your site here: Restore Site
- Restore Page
You can also restore a page to the way it was before you edited it using the 'restore' function. You can restore a page by using the 'Restore Page' link on the admin menu. Navigate there by rolling the mouse cursor over the Page Menu, and then over the Page name, and clicking the 'restore page' Link.
- Edit Level
- Tutorials
- Tutorial List
There are numerous tutorials dealing with setup and domain management, as well as the editor and this administrator quickstart guide. tutorial list
- Tutorial List
- Admin UserGuides
- Simple Admin UserGuide
The simple administrator userguide details the first and most simple administrator toolbar functions. simple admin userguide
- Basic Admin UserGuide
The basic administrator userguide details next level basic administrator toolbar functions. basic admin userguide
- Standard Admin UserGuide
The standard administrator userguide details the administrator toolbar functions for standard use. standard admin userguide
- Advanced Admin UserGuide
The advanced administrator userguide details the most advanced and complete administrator toolbar functions. advanced admin userguide
- Simple Admin UserGuide
- Editor User Guides
- Simple Editor User Guide
The simple editor user guide details the first and most simple editor toolbar functions. simple admin userguide
- Basic Editor User Guide
The basic editor user guide details next level basic editor toolbar functions. basic admin userguide
- Standard Editor User Guide
The standard editor user guide details the editor toolbar functions for standard use. standard admin userguide
- Advanced Editor User Guide
The advanced editor user guide details the most advanced and complete editor toolbar functions. advanced admin userguide
- Simple Editor User Guide